However, one thing that can make things a little messy is that Google Photos will show all the uploaded photos on the main photos page. This means unrelated images — like document images — will also show alongside your family photos. If you don’t want such clutter on your main photos page, then the Google Photos archive feature can help. In this post, I’ll introduce the Google Photos archive feature and show you how to use it.
What is Google Photos archive feature?
Similar to how you can archive emails in Gmail, Google Photos also lets you archive your photos and videos. Archived photos are removed from the main photos page and moved to a dedicated “Archive” section where you can view them. Although, the archived photos will still show up in the search results and albums. However, Google Photos assistant will not use them to create movies, collages, and animations, etc. It basically hides photos that you don’t want to interact with often and keeps them safe unless you need to view them later. And accessing them is also just a two-click process, more on that below.
How to archive photos in Google Photos
You can achieve one or more photos on both Google Photos for desktop and mobile apps. You can either use the photo menu or a keyboard shortcut to archive photos. I am going to show you how to do it on both desktop and mobile apps.
On Google Photos for desktop
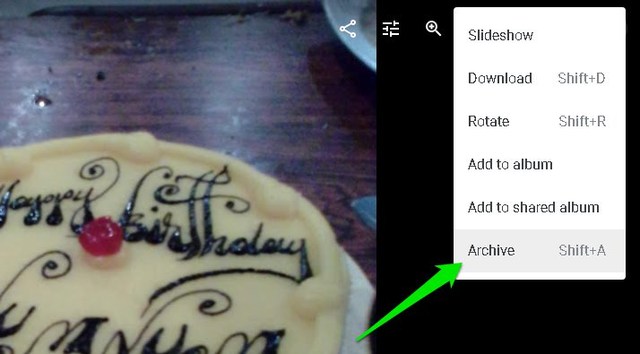
On the desktop, open up the photo or select multiple photos. Now click on the three-dots menu at the top-right corner and select “Archive” from it.
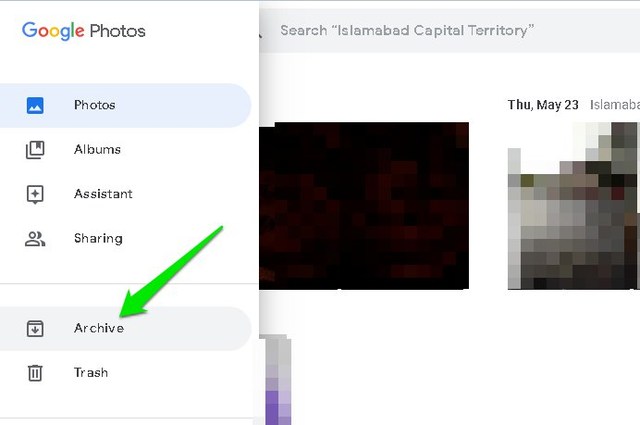
Alternatively, you can also open or select a photo and press the “Shift+A” keyboard shortcut to archive photos. You’ll notice that the archived photo will immediately disappear from the main photos page. To access it, click on the hamburger menu at the top-left corner and open up the “Archive” section.
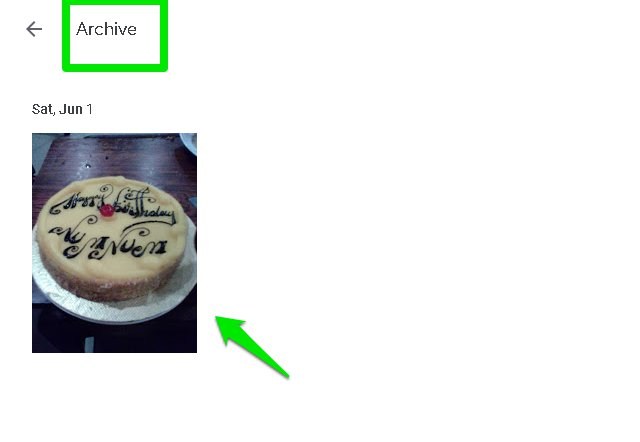
You’ll find all the archived photos here. The same process can be used to unarchive photos. Open up the photo and select “Unarchive” from the three-dot menu. “Shift+A” keyboard shortcut also works.
On Google Photos mobile app
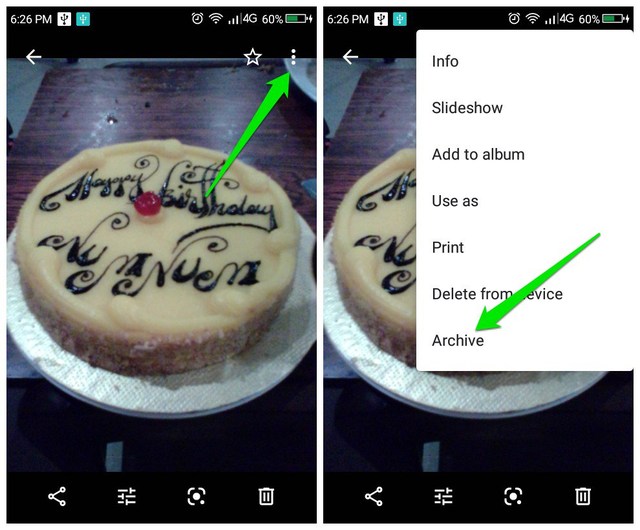
The instructions to archive photos in Google Photos mobile app are similar to the desktop version. You can find them below: Open up a photo or select multiple photos in the Google Photos app. Afterward, tap on the three-dots menu at the top-right corner and select “Archive” from it.
The photo will be archived and can be seen in the “Archived” section, which is available in the same hamburger menu as on the desktop version.
Ending thoughts
The archive is definitely a powerful feature of Google Photos to organize your photos and keep what’s important in front. However, I am sure many people overlook it as it isn’t available in front seems a bit too much manual work. Once you make a habit of archiving less important images, you’ll surely love your cleaner Google Photos main page.